

Aside from one that you build early on as part of the main quest, building bridges is typically a late-game pastime. This is not only because it costs a lot of money, but also because it requires several island upgrades to have taken place. Bridges are not something that you craft yourself, so you’ll need to fork money over to Tom Nook every time. Let’s take a look at exactly what the process entails.
Bridges at a Glance
You can unlock Bridges after you invite three residents, build the Museum, build Nook’s Cranny, and upgrade Resident Services. You’ll then be able to talk to Tom Nook to get a Bridge Construction Kit that you can build wherever you want on your island. There are eight different styles of Bridges available for you to choose from.
How to Unlock Bridges
You will need to fulfil several requirements to gain access to bridges, but I won’t elaborate too much on the details, otherwise this article would be way too long! Instead, I’ll go over the basics. The first thing you need to do is build the Museum, which involves inviting Blathers to your island. You can invite Blathers by donating 5 Bugs or Fish to Tom Nook in Resident Services. Once Blathers has arrived, donate 15 more Bugs or Fish (every species must be unique), and then the Museum will be built.
Whilst you’re building the Museum, you should also be inviting new residents to your island. You’ll need to visit three Mystery Islands (buy a Nook Miles Ticket for 2,000 Nook Miles, then present it to Dodo Airlines). You can only find one new villager per day, so this will take at least three days. Once three villagers have been invited, you’ll need to build plots for them to move into. You need to have all three set up in their new homes before you can build bridges.
We’re nearly there now! We just need to build Nook’s Cranny, which is Timmy and Tommy’s joint store venture. It will require all of the above, as well as building your first bridge. This is a one-off experience after paying off your second home loan from Tom Nook, whereby he gives you a recipe for a Bridge Construction Kit. Once that’s been used, you can only buy bridges directly using the process in this guide. After the bridge is built, you’ll need to donate the following items:
- 30 x Wood
- 30 x Softwood
- 30 x Hardwood
- 30 x Iron Nuggets
Phew, that was a lot of work! After all of that, you’ll finally upgrade Resident Services. Isabelle will move in, and in the process, bridges will be unlocked for you to buy.
Where to Get Bridges
Now that you’ve unlocked them, you can access them at any time by speaking to Tom Nook in Resident Services. Talk to him, and select the option “Let’s talk infrastructure”. You’ll then want to select the option for Bridges and Inclines, and tell him you want to build a Bridge. He’ll display a list with the following options:
- Log Bridge
- Suspension Bridge
- Stone Bridge
- Wooden Bridge
- Brick Bridge
- Iron Bridge
- Red Zen Bridge
- Zen Bridge
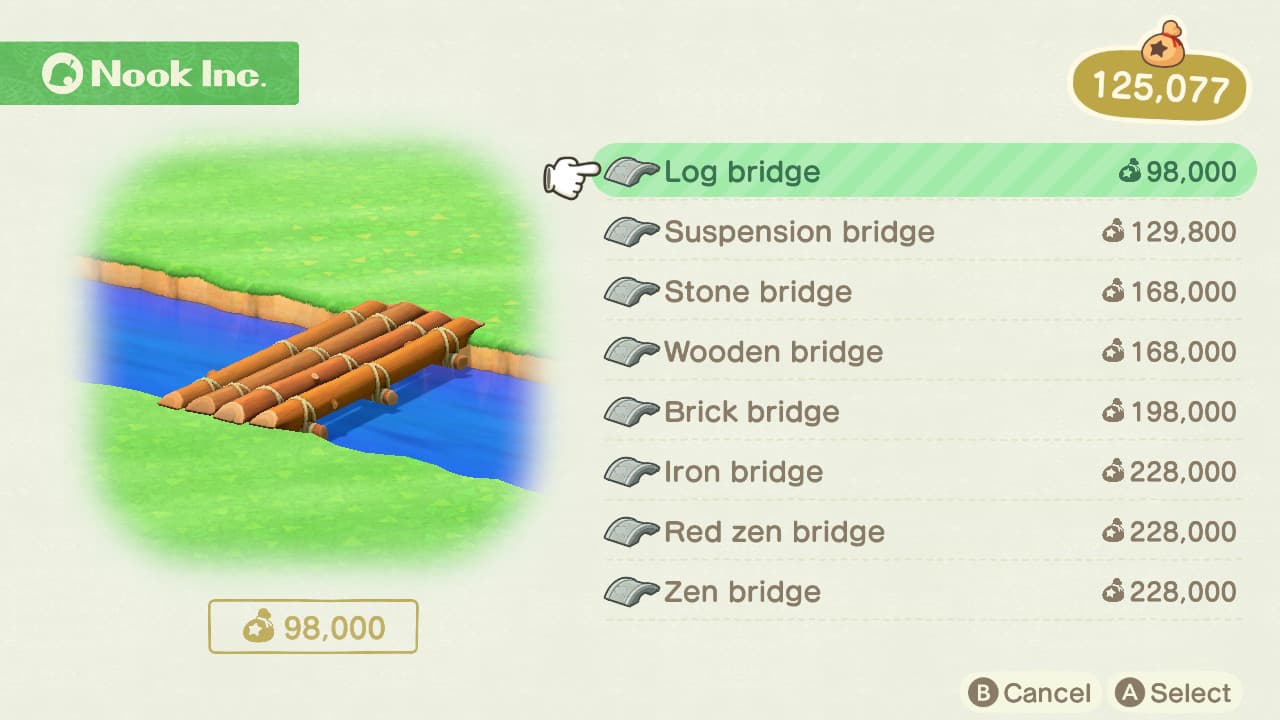
They range in price between 98,000 and 228,000 Bells, but I would recommend waiting until you can afford the one you want, rather than just going for the cheapest option. You want your island to look pleasant and uniform, and the wrong Bridge may ruin the aesthetic. If you change your mind later, not only do you not get your money back, but you have to pay 10,000 Bells to demolish it.
You don’t pay the money upfront, instead, you simply confirm your choice for the moment. Tom Nook will hand you a Bridge Construction Kit, and then you can go about building.
How to Build Bridges
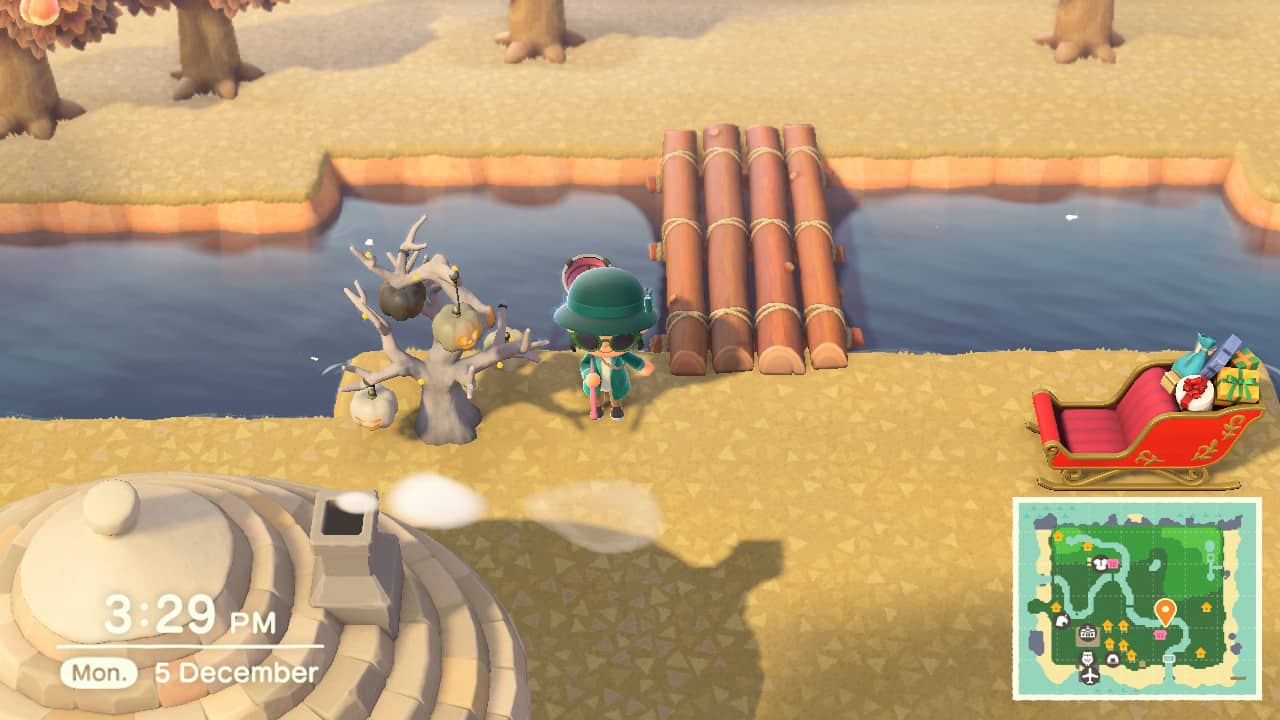
Similarly to when you built your first one-off Bridge, you’ll need to choose the location where you want to build it. It has to be directly over a body of water (either a river or a lake), and you must be standing right next to the edge. If you’re too far away, the game won’t register where you want to put it. Make sure you’re a decent distance from structures such as trees or houses. You also can’t be too close to a cliff or the beach.
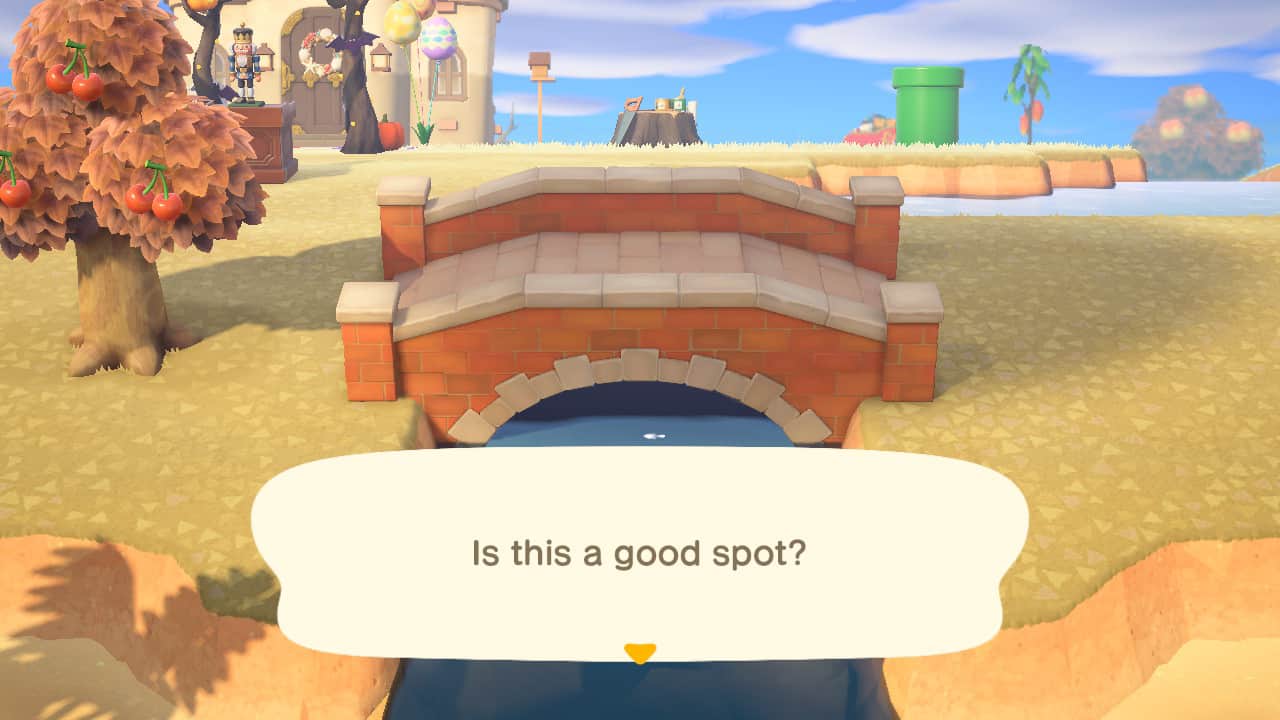
Then, select the Bridge Construction Kit in your inventory. The game will display a roped-off area to indicate where the bridge will go. If you’re confident in your placement, you can just select the option to build it. However, I’d recommend first clicking on “Let me imagine it” so you can make sure you like the look of the location. That way, you can still move it if it doesn’t look just right. Once you’re happy with it, the roped off plot will become tangible.
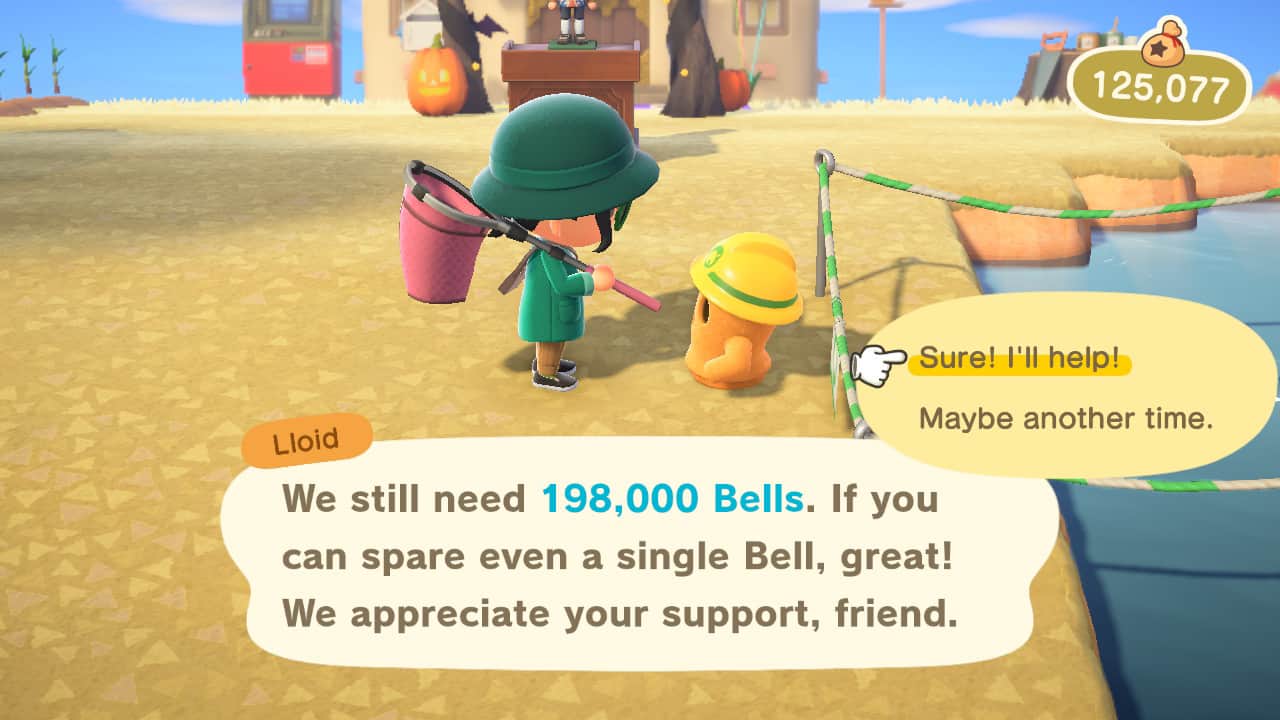
A fun little character called Lloid will appear next to it. He’s overseeing the construction, and this is who you pay the money to. You can either pay it all off in one go, or you can spread it over several payments. Your villagers can also make donations, but their amounts are pitiful, so don’t rely on that as a payment method. Bear in mind that construction will not begin until the Bridge is fully paid off.
The Bridge will be completed the day after you donate the full amount. You can only build one Bridge at a time, so you will have to be patient if you want multiple Bridges. To make the process as quick as possible, try to pay the full amount immediately each time, so you don’t have to wait longer than a day.
Bridge Over Troubled Water
Bridges are a key part of perfecting the design of your island, and now you know how to build them! Whilst not necessary as part of the main quest line (the first one being an exception), they still add a lot of fun to the game. They can also be very helpful in earning a 5-star island rating. Building them may be a slow process, but hopefully, you’ll find that it’s worth it.
My biggest piece of advice would be to choose a theme and stick to it. Unless you have a particularly eclectic island, it’s likely going to look best if all your bridges follow the same aesthetic. Personally, I really like the Brick Bridge design, but your favorite may be different to mine. This may well mean that you need to pay 10,000 Bells to demolish that first Log Bridge that the game makes you build, but it’ll be worth it.

FAQs
Question: Can you customise Bridges in Animal Crossing?
Answer: You can’t customise the Bridge Construction Kits or do anything to the Bridge once it’s built. However, there are several different designs to choose from when you select to build the bridge in the first place.
Question: Can you move a Bridge in Animal Crossing?
Answer: Unfortunately not. You’d hope that like with homes, you’d be able to pay Tom Nook a fee and simply shift the Bridge over a bit, but you can’t. Instead, you’ll need to pay 10,000 Bells to demolish the bridge you want to move, and then buy a brand new Bridge Construction Kit to build in the location you want to put it.
Question: Can you build as many Bridges as you like in Animal Crossing?
Answer: Nope, you’re limited to a total of 8, so think carefully about where to build them!
novel. It's such a joy to be able to write about the topics that I'm passionate about!
- How to Get Wheat in Animal Crossing - December 17, 2022
- How to Get an Axe in Animal Crossing - December 16, 2022
- How to Get a Shovel in Animal Crossing - December 11, 2022