

If you’ve ever played Animal Crossing, you know the pain of giving up your precious items because your pockets are too full. Because of my mismanaged storage space, I have had to release far too many fish and bugs or leave all assortments of items around my town and island (that I will inevitably forget later).
Not to worry! This in-depth guide will make sure that you never have to release another coelacanth back to the murky waters only to catch it again and have it be the one thing missing from my Museum in Animal Crossing City Folk. I still wake up in cold sweat some nights thinking about how disappointed Blathers is in me… I’m not crying! You’re crying!
Anyways…
Let’s get started!
Pockets, How Deep Do They Go?
Pockets are a system in all Animal Crossing games that lets you hold items you receive from the world around you; whether it’s the coelacanth, or that new, swanky piece of furniture for your home, pockets are how you keep your most valued items in one convenient place as you travel from point A to point B.
Your pocket screen is easily accessible with a button press or touch screen tap in all the games. You can also rummage through the tools section of your inventory by using the D-Pad on your controller or DS. However, D-Pad functionality is only available from Animal Crossing City Folk through New Horizons.
In all the mainline titles up to New Leaf, your pockets were set at a sturdy 15 slots. They expanded the pocket size by one slot in New Leaf to 16, and in New Horizons, you can pay to expand your pockets to hold up to 40 items.
Location, Location, Location
What’s important to know about your pockets is that they should never be empty. Although you may want to maximize your space to store your items, you have to leave room for various tools to catch, fish, chop, and dig around your town or island.
When laying out an inventory, I try to keep the tools at the top of the menu for easy access. If you want to invest in gathering the most amount of a single type of item possible, I would leave two slots for the specific tool you need and the rest for caught or found items.
I usually like only two to three tools at a time because you can always sell anything you are harvesting back to the Nook Store to get more bells and buy more tools! And thus, the tool life cycle moves on.
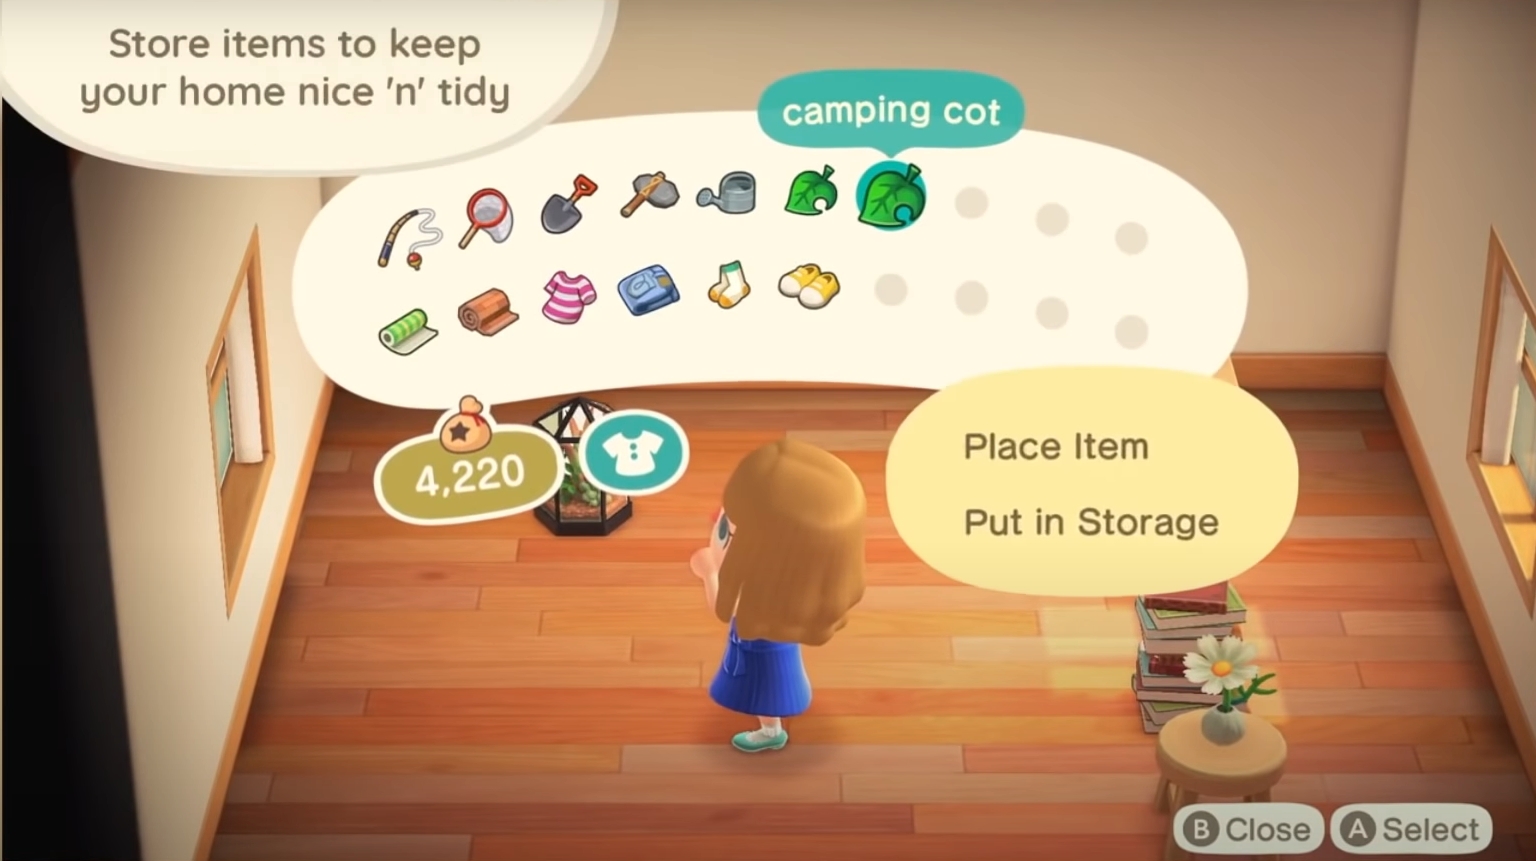
Keep the unused tools or items either in the storage in your home or a convenient, memorable place on your island. I don’t know how often I’ve stumbled upon left items that I was “for sure” coming back for weeks after I needed them because I put them in a location that made no sense.
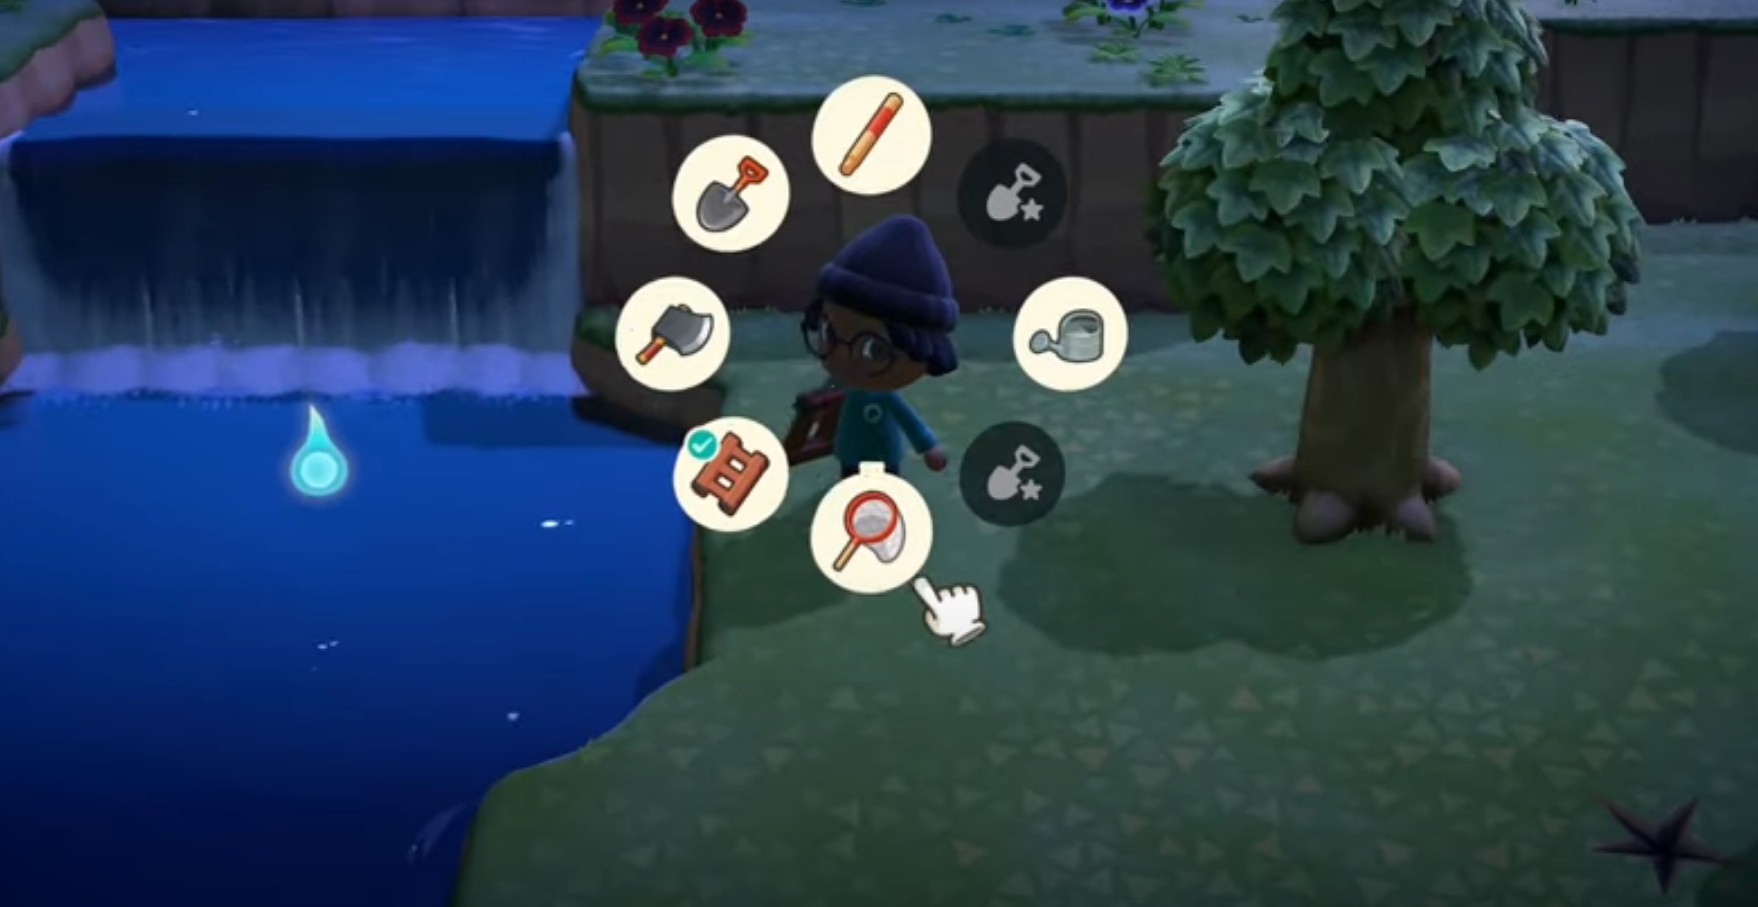
If you are constantly running out of space, always check what tools you have. If you are roaming around your island without a specific task in mind, I always keep one of every tool in my inventory. These are the tools I consider essential.
- Fishing Rod
- Net
- Shovel
- Axe
- Slingshot
(In New Horizons, because of the extended mobility options, these are also essential)
- Pole
- Ladder (not the ladder setup kit, that is for permanent ladder setups)
One omission from this list that I could see regarded as essential is the wetsuit. Although deep-sea diving can be highly profitable, It takes more time to execute than just wondering upon a bug or fish. I put it in the same category as only gathering a specific type of creature, which is not essential in my book.
Lions and Tigers, and Bugs, and Fish, and Paintings, and Rocks, oh My!
A great way to keep your inventory organized is to arrange it by type. This does not need to be a long and drawn-out process, and if you do it every time you gain an item, it will become a quick and easy habit that will have your inventory looking clean and organized in no time. My definition of the “type” of an item is relatively simple.
- Fish (and Sea Creatures)
- Bugs
- Fossils
- Crafting Items (Specific to New Horizons)
- Tools
- Miscellaneous
Most of those are self-explanatory; the sections where it can get muddy are in the crafting items and miscellaneous sections.
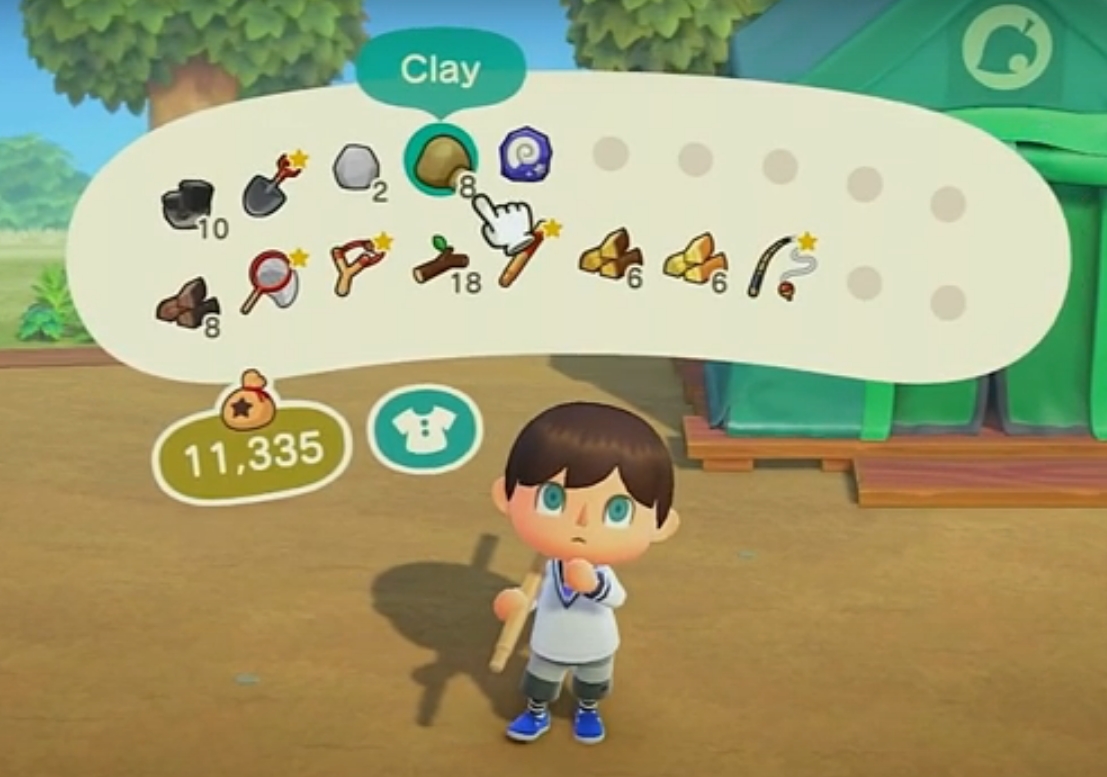
Crafting items. These resources around your island can help you craft new items and tools and customize them for your villager. They are different than the tools themselves. Here are a few examples.
Note: Crafting is only available in Animal Crossing New Horizons.
- Fencing Materials
- Clay
- Customization Kits
- Bamboo Shoots
The miscellaneous section contains any items that don’t fall into the abovementioned areas. Examples include…
- Clothing
- Furniture
- Bells
- Gifted Items
When organizing by category, I go row by row because of how the pocket menu is arranged. It isn’t essential what category you start with, but I usually try to go with crafting items after the tools section because the two are the most closely related. It will feel a bit disjointed because there aren’t typically clean breaks between each section. Still, once you’ve got an organizational method that works for you, it will be much easier to rifle through your pockets knowing everything is in its proper place.
Pay to Store
While the item limit for most games in the Animal Crossing series sits at the mid-teens mark, New Horizons bumped the starting number of pocket slots up to 20. This makes sense; more tools and resources for crafting means that there is a lot more to stuff into your pockets.
Tom Nook, that sneaky devil, found a way to expand that pocket-size to forty slots! If you’re willing to pay, of course.
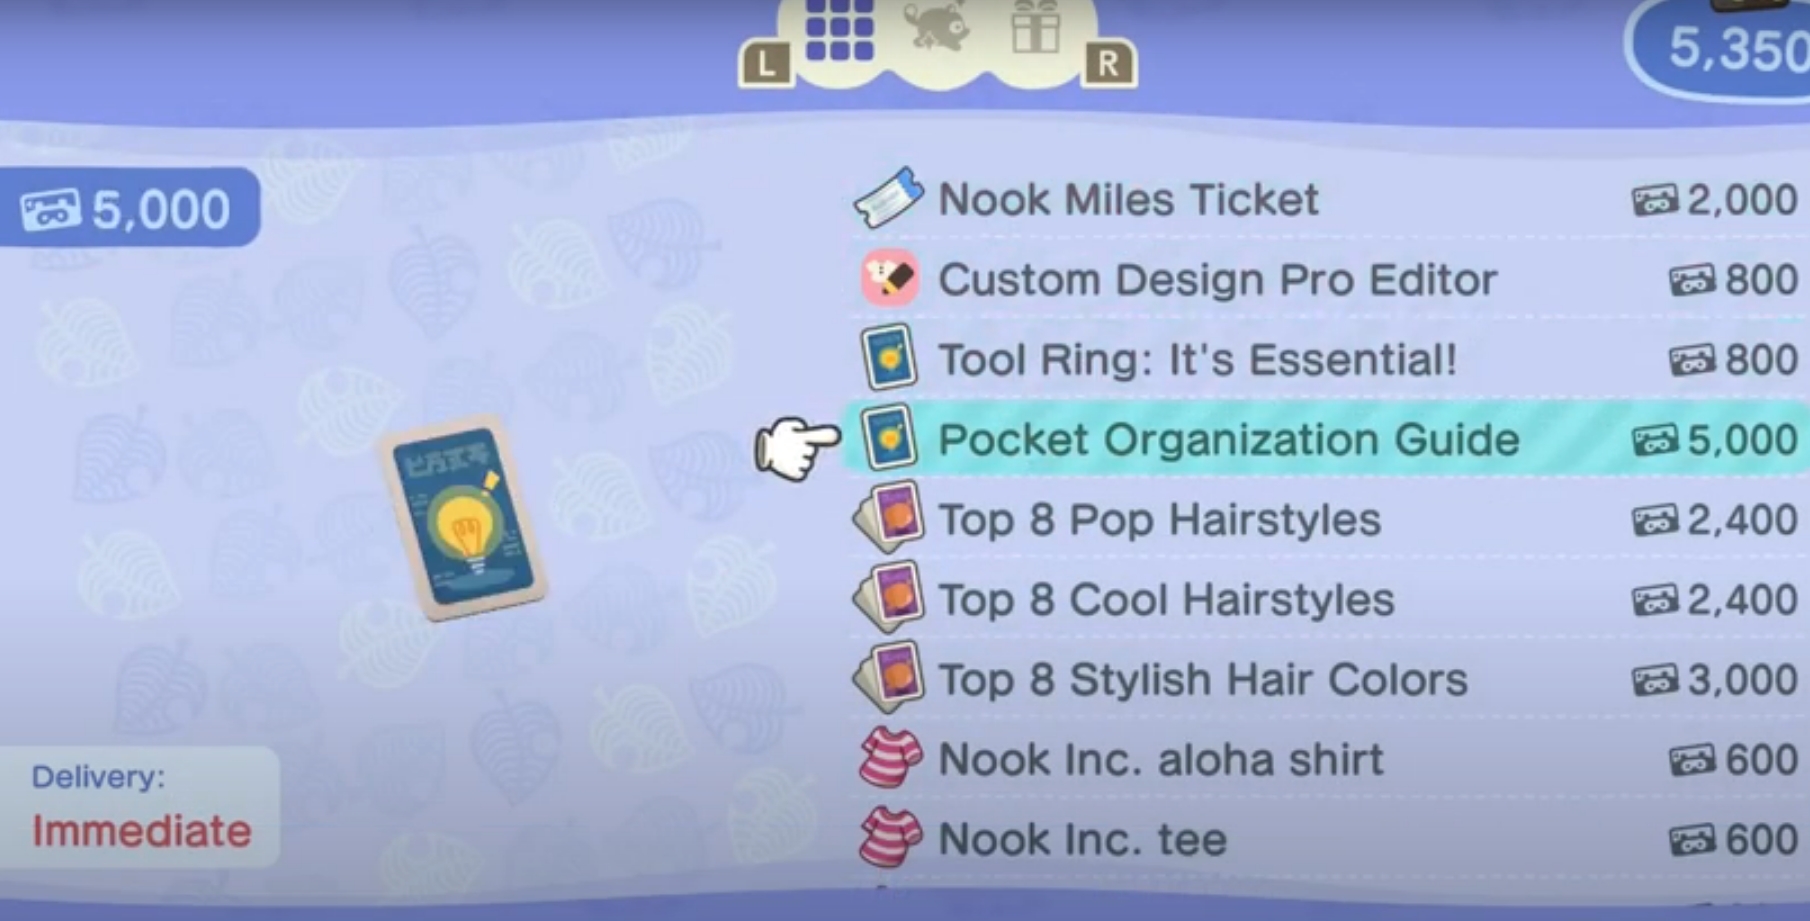
POCKET ORGANIZATION GUIDE
To upgrade your pocket inventory size up to 30 slots, you will need access to the Automatic Bell Dispenser (ABD) in your Resident Services Tent. This can be done anytime after you begin your play-through.
Select the “Redeem Nook Miles” option from the menu.
Select the “Pocket Organization Guide” card from the menu. It will cost 5,000 Nook Miles.
There you go! You’ve upgraded your pocket size to thirty slots!
But if you want to go to the limit, the max, the whole enchilada of pocket storage, you’ll have to play the waiting game.
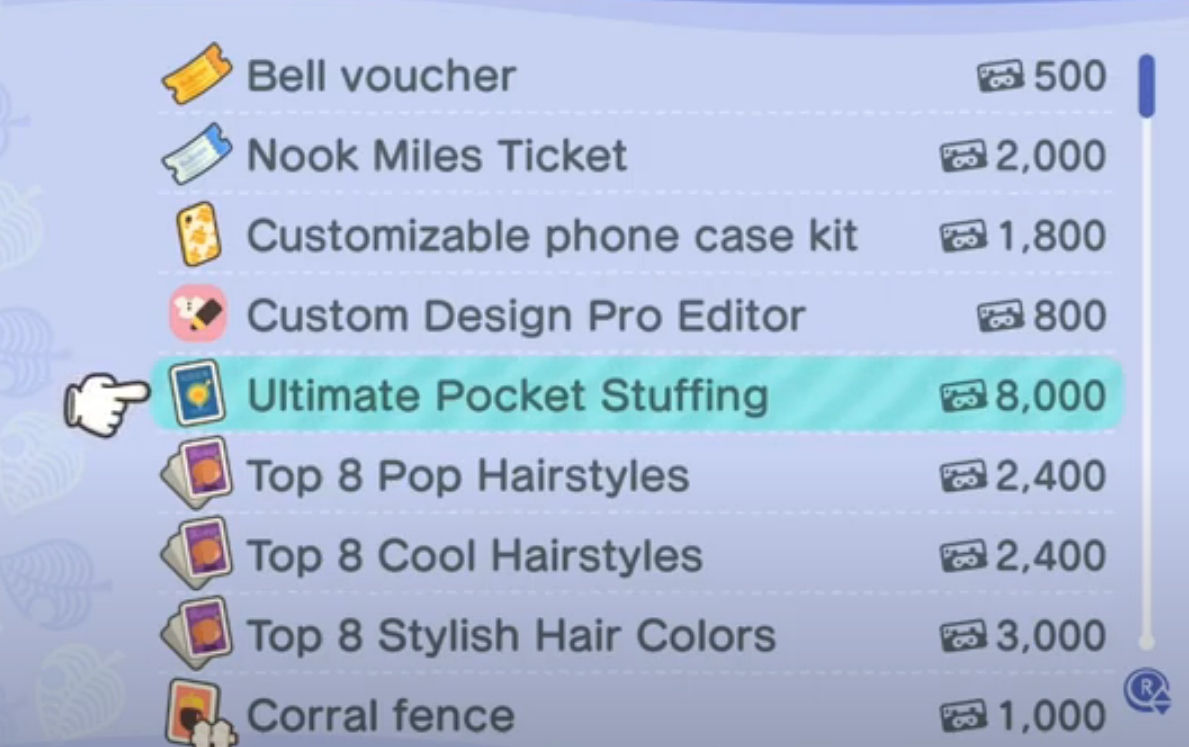
ULTIMATE POCKET STUFFING GUIDE
After you purchase the “Pocket Organization Guide,” you will need to wait until you have 5 villagers moved onto your island. Tom Nook will renovate the Resident Services Tent into the Resident Services Building.
Once you have access to the ABD within the new Resident Services Building, access the “Redeem Nook Miles” option from the menu.
Select the “Ultimate Pocket Stuffing Guide” card from the menu. It will cost 8,000 Nook Miles.
This will upgrade your pocket size to 40 slots.
Voila! Just like that, you have fully upgraded your pocket storage in Animal Crossing New Horizons.
FAQ
Question: Can you Upgrade your Pockets in Animal Crossing?
Answer: While there is only one pocket menu in any Animal Crossing game, the amount of slots you can have in that menu depends on which entry of Animal Crossing you are playing. From the first Animal Crossing to City Folk, the item slots are stuck at 15 slots with no possible upgrades. Animal Crossing New Leaf added one more slot to make the pocket size 16 slots, again with no possibility to upgrade.
However, Animal Crossing New Horizons starts you off with 20 slots with the option to purchase the “Pocket Organization Guide” to bump it up to 30 slots and the “Ultimate Pocket Stuffing Guide” to max your storage at 40 slots. These can be purchased from the Automatic Bell Dispenser (ABD) in the Resident Services Building.
Question: How do I Organize my Pockets in Animal Crossing?
Answer: The best way to organize your pockets is tools first, then type. I like to put the tools at the top of my pockets menu for easy access. After that, however, you want to organize by type is up to you! These are the “types” of items you can sort by.
Fish (and Sea Creatures)
Bugs
Fossils
Crafting Items (Specific to New Horizons)
Tools
Miscellaneous
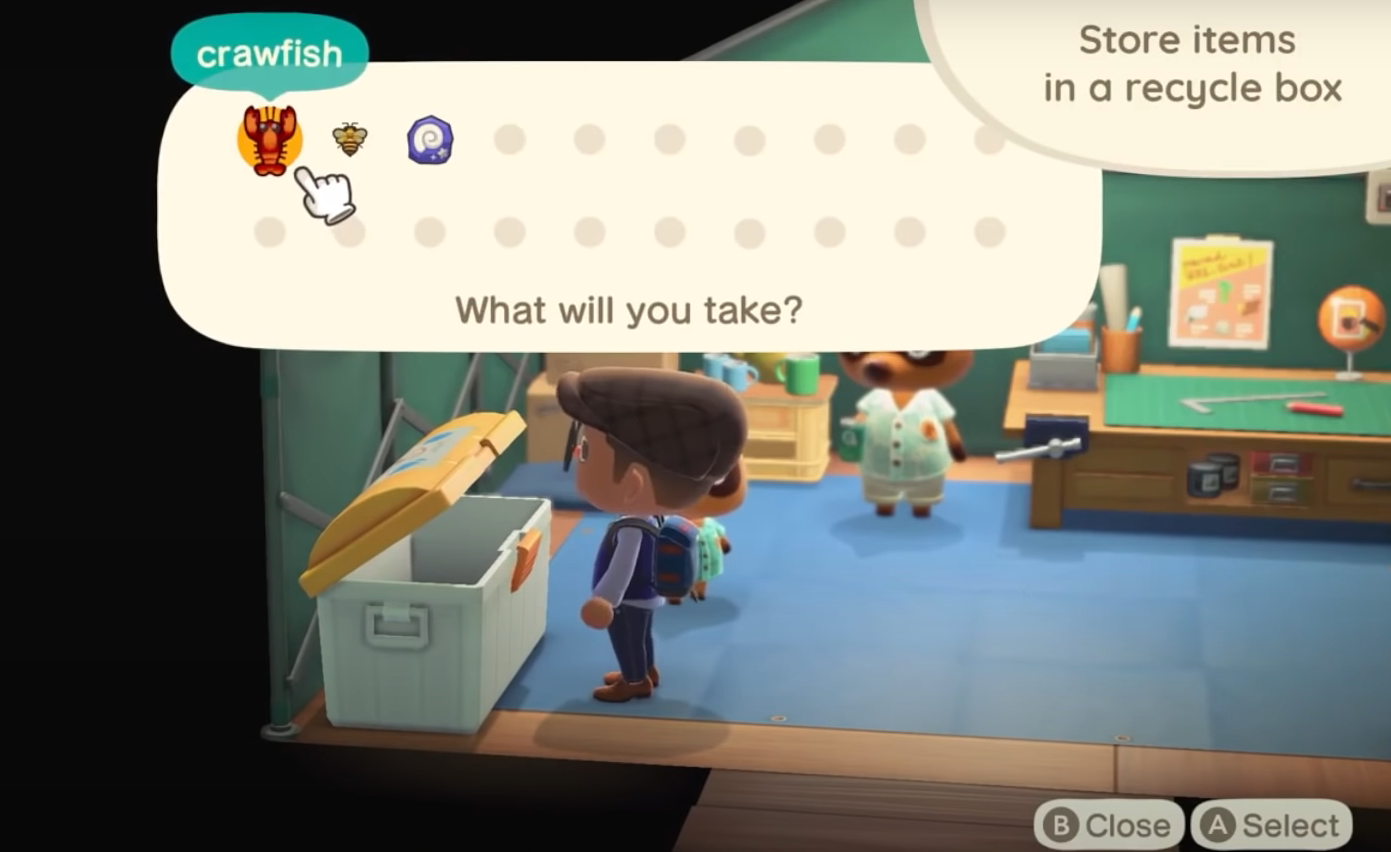
Question: How can I Store Items When my Pockets are Full?
Answer: The best way to not lose track of your items is to store them in your house’s storage or create a space in your town or on your island that you won’t forget about. If you are out and about, storing things around your town or island can be easy, but I would caution against just dumping anything at any place. If you have a distinct location where you can put your items while filling up your pocket space, you’ll be less likely to forget about them and move on.
Summary
The pocket system in Animal Crossing is a great space to hold those precious items before using them in-game. Organization can seem like a daunting task, but if you get in the habit of organizing right after you gain an item, it will become second nature and have your pockets looking neat and clean for easy transfer of items.
Continue reading:
10 Interesting and Welcoming Animal Crossing Campsite Ideas
- Warrior Statue Animal Crossing - June 13, 2022
- Animal Crossing Pocket Organization Guide - May 30, 2022
- Mystic Statue Animal Crossing - May 25, 2022